
I recently completed a commission for a friend's birthday. Although it is themed for a Space Wolves army, this tutorial is the method I used to create my previous drop pods, and can be applied to any chapter.
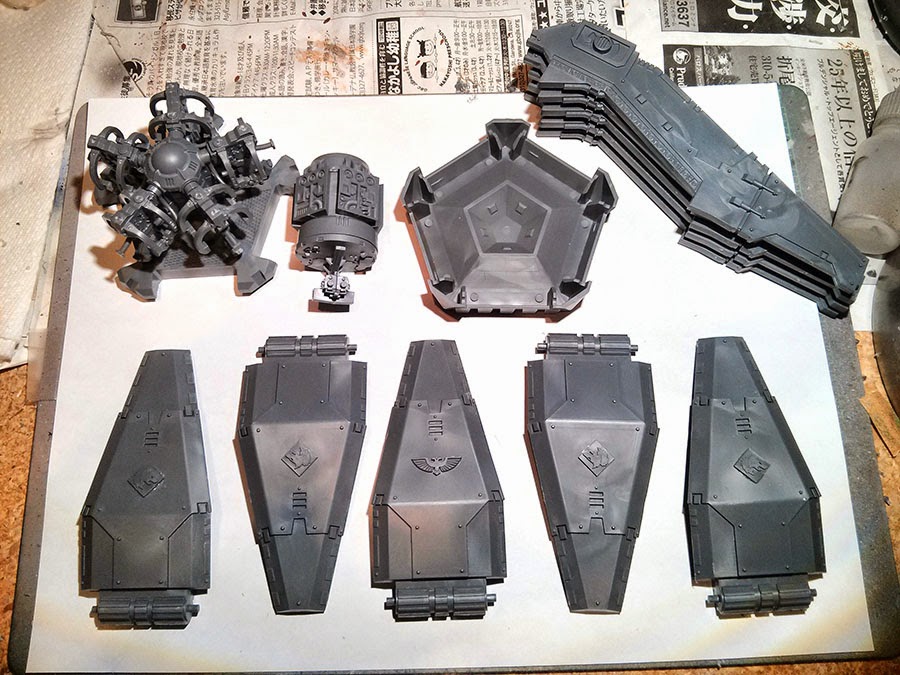
I began by separating the parts from the sprues and cleaning them using a hobby knife and file. The key to this model is to create and paint in sub-assemblies, as shown below. This ensures that you will be able to mask and paint all the areas easily.
I used large clamps to hold the two halves of the doors together while they dried overnight. These were purchased at the local dollar store - 4 clamps for $1. Essential for making sure the pieces mate while drying.

Once the pieces were assembled, I primed the model. White in areas of color, and black where there would be metallics.

When the primer had dried, I applied vallejo gunmetal to the fins.

I then painted the lower corners of the doors with vallejo moon yellow, then shaded them with vallejo gold yellow.

When the paint on the fins and doors was dry, I masked the areas using tape. I used a rubber sculpting tool to press the tape into the details for a cleaner mask, and then cut it to fit using a new blade.


With the detail areas protected, I applied a preshade of black to the details and recesses of the model. This will keep the finished model from looking flat.


When the preshade dried, I applied the base colors to the parts using a combination of GW Fang, oversprayed with GW Russ Grey.

I then masked the door edges and painted the interior with vallejo gunmetal.

As you can see, when the mask is removed, clean lines are the result.

I repeated this process on all the doors, and fins. Using GW fenrisian Grey, I edge highlighted all the details and rivets.

I then coated the pieces with vallejo satin finish primer to protect the model and prepare it for the final step before assembly - the oil wash.
I mixed a combination of oil paint and turpenoid (mineral spirits) in a small container and applied it with a brush to all the details and recesses in the model. Thirty minutes later, before the oil had a chance to set, any excess was wiped clean with a soft cloth dipped in turpenoid.
This effect can also be achieved with careful application of ink washes (GW shades), but it is much less forgiving.

To paint the center console, I masked the piece using a large, flat section of poster tack. I applied vallejo scorpion green, then shaded with vallejo sick green.

Once the mask was removed, I brush painted GW fang and GW russ grey onto the center console, and completed a detail pass with an oil wash, GW fenrisian grey highlights and GW bieltan green shade along the bottom of the orb.

When the center console was complete, all the pieces were ready for assembly.

I placed the doors into the bottom piece of the pod, and then glued the center console on top. I placed a heavy object on top to make sure that the parts mated correctly while the glue dried. (Knew I kept that gaint-ass 6th edition rule book around for a reason...)

When the glue had set, the bottom sub assembly looked like this.

I then simply glued the fins in place and attached the upper engine pilon, working my way around the model in a circle.

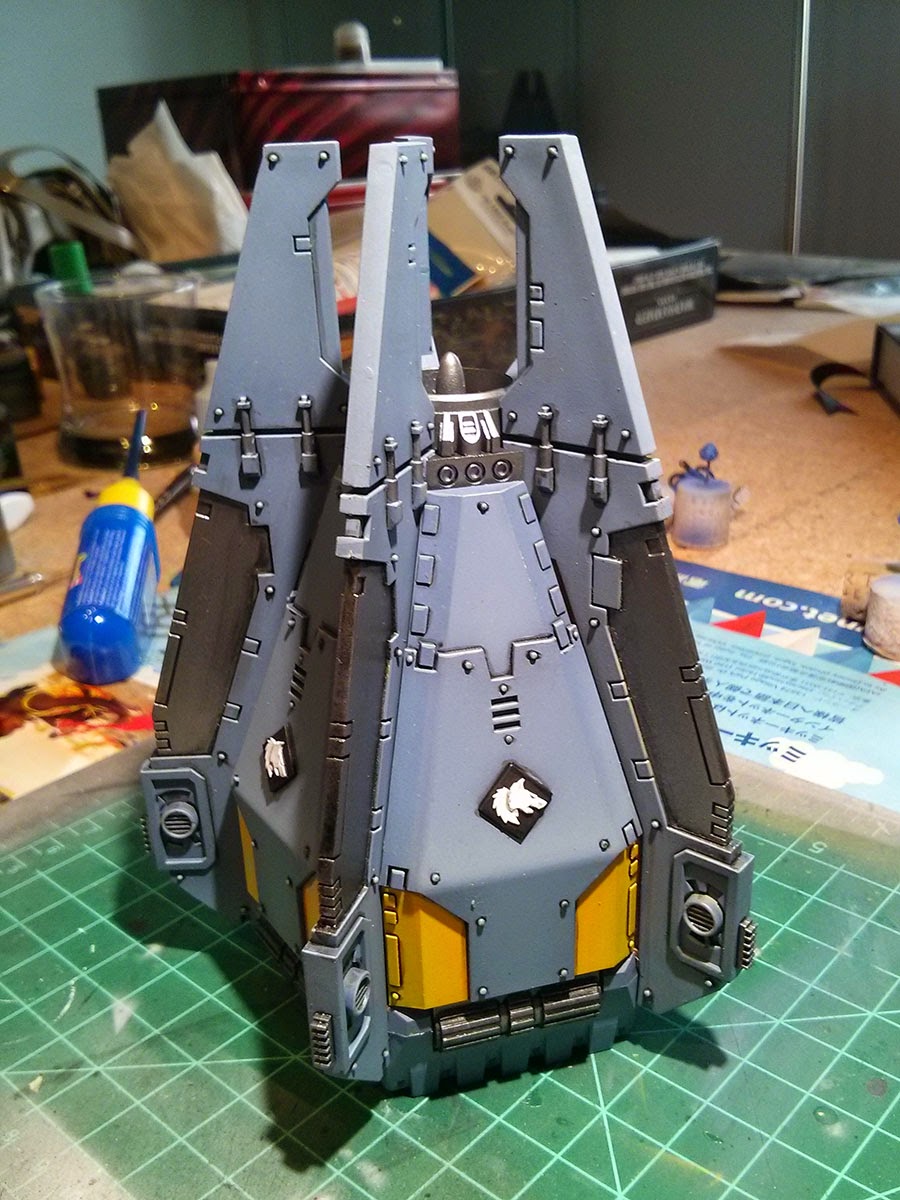
Viola! One completed Imperial drop pod.
Was this tutorial helpful to you? Have detailed questions not covered here? Be sure to comment below.
-trip
Clamps...I gotta get me some of those clamps. I always need extra hands. You'd think we'd have servitors already.
ReplyDeleteVery clean and easy to follow tutorial! nice work trip!
When are we going to see these Wolves in action?
ReplyDeleteTomorrow! For Russ and the Allfather!
DeleteThe drop pod looks fantastic! Very clean looking model. Great write up. How does that Revell plastic glue work for you? I'm not a fan of GW's plastic glue (I use testors).
ReplyDeleteAlso, do you have any problems gluing parts together that are both painted? I know some people mask off parts of the model that will be glued. The way I figure it, as long as the surface area is large enough it shouldn't matter. Paint is stuck on there and so gluing to it should be fine. It comes down to the weakest link I suppose (paint vs glue). Big areas shouldn’t come apart.
Thanks for the compliments. I use revell contacta pro because it bonds so well. It is not available for purchase in the states, so I have to special order it from Europe, but it's worth it. It bind directly through the paint without any issues, so making contact areas is not necessary.
ReplyDeleteGW plastic glue is literally the worst I have ever used. Completely unacceptable. Testors model matters series might even be better than the revell. I've only started using it, but the bonding and set time seem to be top notch.
I've had issues with Revell and metallic paint. Otherwise it's great.
DeleteHappy Birthday to me! Thanks Trip, this looks fantastic. Can't wait to drop it on someone!
ReplyDeleteI've just assembled a couple of drop pods - did you have the same issues of the doors not fitting quite right? I shaved down the door before it was primed so they don't catch, but now I've got paint on the model the fins seems reluctant to fit properly into the base so I guess I'll be getting the files out again before assembly!
ReplyDelete