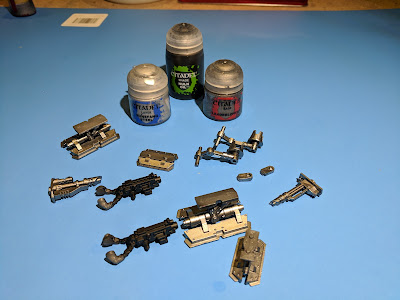
I've tackled the troop compartment, struts and gunners. Experience has taught me that you can never really see inside these things, so getting caught up in the details is not worth it. I completed the interior in four simple steps.
1. I primed and pre-shaded the interior. Looks silly now, but...
2. I applied a layer of grey and got this result. Preshading gives the model additional depth, and keeps large surfaces from becoming flat and uninteresting.
3. I used an oil wash (vandyke brown and black oil paint thinned with turpenoid to a milky consistency) all over, filling the recesses and details. After an hour, I wiped the surfaces with a soft cloth and turpenoid. This removed the wash but left it in the recesses.
4. Once the oil was was dry, I dry brushed the surfaces with a mix of grey and white to bring out the highlights.
BONUS step. I hit some of the buttons with green and red to add another level of detail, and realized that you couldn't see any of them when the roof was added. Let that be a lesson to you.
Next I gang painted all the metallic parts, including the magnetized weapons and the landing struts. Everything got a coat of leadbelcher, followed by a nuln oil wash, and a runefang steel drybrush.
And then I left metallic paint in my airbrush.
While my airbrush was soaking in superclean to unclog it, I hand painted the gunner figures. I followed the same formula as my AM troops and attached some female heads I had left over from my conversion. I even painted a fake reflection in the sunglasses, LOL.
That's all for now. Once I get my airbrush sorted, I'll start on the fuselage.
-trip


Nice! I like the results in the interior. Some inspiration to go back to my now long abandoned Death Korps of Krieg air power...
ReplyDeleteYeah, you can't see it most of the time, but that one time you're playing with someone and leave the door open and they notice... Worth it. At least for the amount of work you did. My Stormraven... Overkill.
ReplyDelete