

This Space Marine Razorback was the first vehicle I painted for my Chapter, "The Sons of Titan". Pics and words after the break.
I purchased this tank from a fellow player at my local GW store. He was no longer playing Space Marines, and was happy to part with it. The kit was already assembled, and had a few problems with seams and part alignment, but fortunately, it was not painted, so I didn't need to strip it before I began.

I primed it using vallejo grey primer, and then pre-shaded it using vallejo black. For a great tutorial on what pre-shading is, and how it can raise your vehicle painting to the next level, check out Buy Painted's youtube video. I then base coated the model in my army's main color, vallejo cold grey. I carefully masked a stripe down the right side of the tank, and painted my accent color, vallejo ultramarine blue.

Once the base colors were applied, I used satin varnish and an oil wash to bring out the details. As you can see in the image above, it really makes the details on the metallic parts of the heavy bolters pop. Once I had completed my oil wash, I weathered the tank by applying a paint chipping effect to the commonly used areas on the vehicle. I did this by simply dabbing vallejo cold grey along some high edges. I also added soot to the exhaust ports and vents along the back of the tank, using an airbrush and vallejo black.

I used GW texture paint, armageddon dust, along the tracks, and spattered around the lower edges of the chassis. I then covered this with a light airbrush layer of vallejo beasty brown.
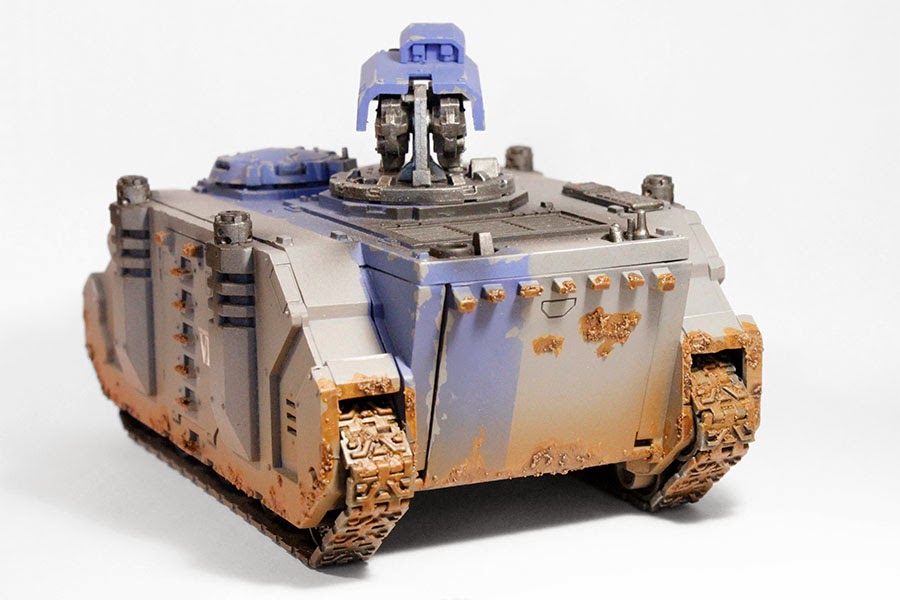
I also applied this on any area that would have made contact with the muddy ground, or would have muddy footprints on it, like the pitons on the rear ramp, and the ladder rungs on the side door, as shown in the image above.
Have you completed armor for your Space Marine chapter? Have comments or suggestions? Leave them below.
-trip
No comments:
Post a Comment